|
You can jump between the apps in Teams by pressing CTRL+n, where n is the corresponding location on the bar (ie CTRL+1 for the top app, CTRL+2 for next down etc). Open the Insights app to see the first-released Viva application, which has also been recently updated. Viva Insights lets you send praise to colleagues, do some quick & mindful breathing exercises, check on actions you may have mentioned in email (eg “I’ll get back to you on Monday…”) and block out time that’s currently free in your schedule to give you a chance to focus on work you’re supposed to do, rather than meeting with people to talk about it. Newly added, is the Virtual Commute – go to the Protect Time tab, or look in the top-right settings menu “…”, to set up the time to finish your work day. You can now have Teams remind you that it’s time to go home, even if you’re home already. Jared Spataro wrote recently about the need to give yourself breaks between meetings and to transition from “work” to “home” modes. If you’d like to jazz up your Teams background image rather than showing your real backdrop, check out the Viva backgrounds now available in the custom backgrounds gallery for Microsoft Teams. |
Month: April 2021
576 – Presenter guidance
|
It’s still worth tailoring your presentation style, especially so when you can’t necessarily see the audience – that guy who’d be dozing off in the front row of the presentation room? He’s now doing that on mute and with camera switched off. Creating compelling content is another huge topic which is even more important than the means by which you present it.
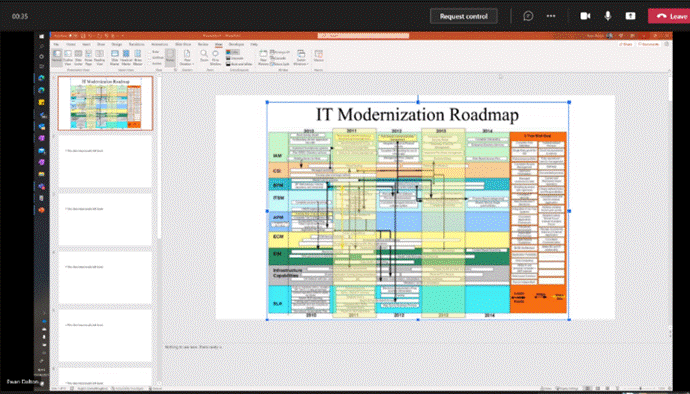
If you have a specific reason to share the screen or app then please at least “Present” in PowerPoint, since simply showing a PPT window is a massive waste of screen real estate and your attendees won’t be able to read it.
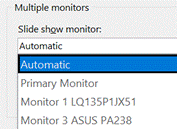
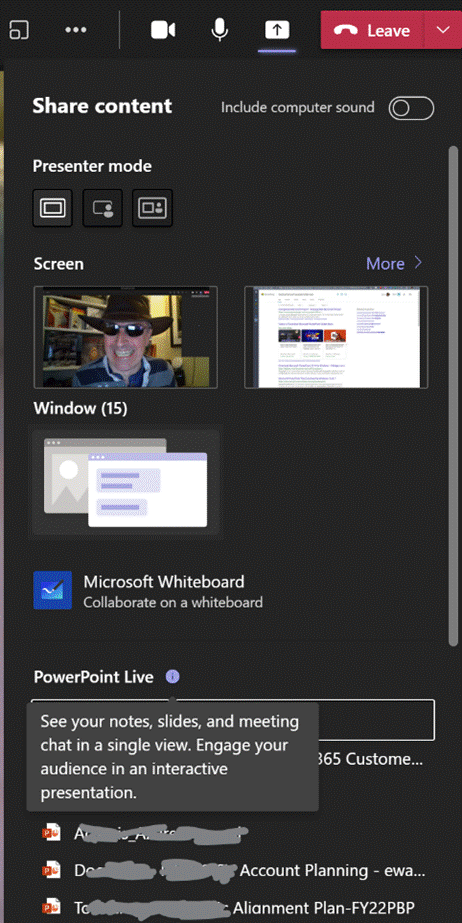
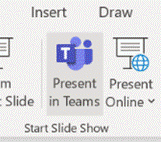
The simplest way to present slides on Teams is to use the This view will let you share content in a more efficient manner, and also gives the option of letting other presenters easily manage the transition from slide-to-slide, rather than having to rely on trying to take control of the presenter’s PC in order to advance them, and avoiding the “Next Slide Please” request. Attendees can privately move around your deck if you allow it. You can also start the sharing from within PowerPoint, as long as the source slide deck is saved to OneDrive or Sharepoint, as the content is rendered as a web view. Go to the Slide Show tab Assuming you’ve managed to create slides which are not a mess and are comfortable about how you’re going to present them, the next step might be to polish your own performance. You could use Rehearse Timings to do a dry run of your presentation, and it will record the time it takes to cover each slide (and will also save that timing so If you’d like an unbiased assessment of your presentation style, try out the new Rehearse with Coach feature – as well as getting some real-time tips during the rehearsal, you’ll get a report when completed, praising for a job well done or admonishing you for speaking too fast, just reading the slides out loud, using, errm, non-inclusive language etc – all of which might be used to help improve your delivery for the next time. Have a play with the Presenter Coach – presuming it’s an automated service rather than a real human listening in, it’s fun to try and see how the recommendations given – see how many profanities you can get it to recognise? |
575 – Who’s meeting?
 Organising a meeting in Outlook means sending out requests to participate – effectively you’re creating an appointment or event in your own calendar, then converting into a meeting by inviting other people to join you. If you’re putting something in your diary and want other people to know about it, but without expecting them to join you (eg you’re going on vacation and presumably don’t want your teammates to tag along), simple tricks can reduce the annoyance you might foist onto your co-workers… Organising a meeting in Outlook means sending out requests to participate – effectively you’re creating an appointment or event in your own calendar, then converting into a meeting by inviting other people to join you. If you’re putting something in your diary and want other people to know about it, but without expecting them to join you (eg you’re going on vacation and presumably don’t want your teammates to tag along), simple tricks can reduce the annoyance you might foist onto your co-workers…
Who has responded? Have most people declined?
If you are organising or attending a large business meeting with lots of attendees, it’s useful to be able to slice and dice the attendees more effectively – have most people declined and should I move the date, for example – click on the big Copy Status option at the top of the list.
If you right-click the table and select Table > Totals Row then if you filter the headings – like the responses, for example, you’ll be able to quickly see how many Accepted, Declined and so on. What could be interesting, too, is showing attendees names alongside their role, department, which office they’re from, their actual email address etc… Well, thanks to the magic of macros, use this Address Book Resolver spreadsheet, and just paste the responses from the Copy Status… step into cell A1, then hit the Resolve button. Some attendees might be external users (so won’t be known to your address book), and some of the names in the first column might not be unique enough to resolve, and will be highlighted (alongside external users) by a red Unknown in the Job Title column.
To use this sheet for resolving any list of bulk display names or alias names, just paste them into column A (and hide Columns B and C if you’re not using the output from a meeting invite tracking list). To prepare the spreadsheet for use, download the Address Book Resolver file as above (here it is again). Open the ZIP file and open the enclosed XLSM file or save it somewhere on your machine, then open it. Make sure you Enable Editing, then Enable Content so you can run the Macro that does the lookups. This is an evolution of the Alias resolver sheet posted back in ToW 417. |
574 – Teams Times Countdown
|
As many of us have spent the last year meeting people through Teams instead of in person, our methods and behaviours may have altered. Most people stopped getting dressed up as if they were going to work, though some found that after months of wearing jogging pants and hoodies, actually getting smartened up helped them get into “Work Mode”. There’s even the idea of having a virtual commute to separate work life from home life.
Clicking the double-arrow on the top right will make the timer fill the whole Alarms & Clock app, and you could even make that app full screen if need be. It’s possible to have multiple timers running simultaneously – you could set one for the duration of the meeting, then line up timers for each point on the agenda, though you do need to start them manually.
A more gentle use of this technique would be if you’re going to allow attendees a couple of minutes to join before getting started – so you’d start and share the timer and then people will know that it’ll get underway at 2 minutes past the hour. If you’re hosting a long meeting with breaks scheduled, the same could be used to indicate when proceedings are going to resume. |


