|
It’s still worth tailoring your presentation style, especially so when you can’t necessarily see the audience – that guy who’d be dozing off in the front row of the presentation room? He’s now doing that on mute and with camera switched off. Creating compelling content is another huge topic which is even more important than the means by which you present it.
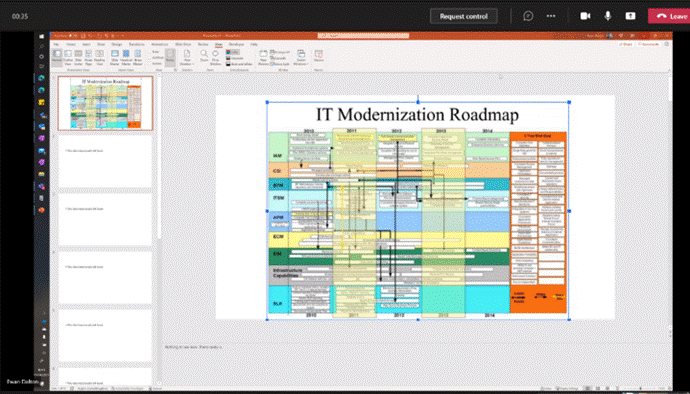
If you have a specific reason to share the screen or app then please at least “Present” in PowerPoint, since simply showing a PPT window is a massive waste of screen real estate and your attendees won’t be able to read it.
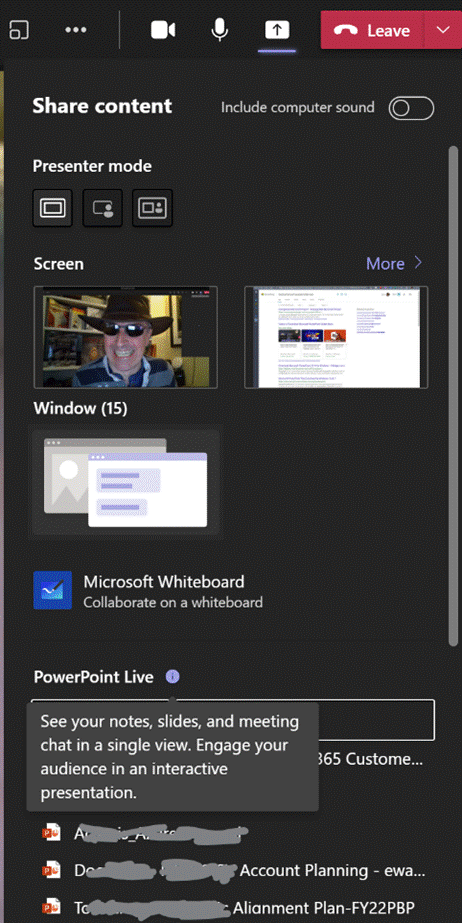
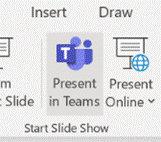
The simplest way to present slides on Teams is to use the This view will let you share content in a more efficient manner, and also gives the option of letting other presenters easily manage the transition from slide-to-slide, rather than having to rely on trying to take control of the presenter’s PC in order to advance them, and avoiding the “Next Slide Please” request. Attendees can privately move around your deck if you allow it. You can also start the sharing from within PowerPoint, as long as the source slide deck is saved to OneDrive or Sharepoint, as the content is rendered as a web view. Go to the Slide Show tab Assuming you’ve managed to create slides which are not a mess and are comfortable about how you’re going to present them, the next step might be to polish your own performance. You could use Rehearse Timings to do a dry run of your presentation, and it will record the time it takes to cover each slide (and will also save that timing so If you’d like an unbiased assessment of your presentation style, try out the new Rehearse with Coach feature – as well as getting some real-time tips during the rehearsal, you’ll get a report when completed, praising for a job well done or admonishing you for speaking too fast, just reading the slides out loud, using, errm, non-inclusive language etc – all of which might be used to help improve your delivery for the next time. Have a play with the Presenter Coach – presuming it’s an automated service rather than a real human listening in, it’s fun to try and see how the recommendations given – see how many profanities you can get it to recognise? |


